TM 5-3895-371-24 & P
k.
(1)
Inspect servo plunger assembly (30).
bends, twists, or cracks, and replace if necessary. Use Loctite sealant, Grade 3, on coarse threaded end
of studs and install in housing (5). Torque studs down tight.
(4) Inspect piston assembly (27) for nicks or scratches around the perimeter. If observed,
replace piston assembly (27). Inspect link end of plunger assembly (30) for cracks. Replace plunger
assembly (30) if cracks are found. Install piston assembly (27) on plunger assembly (30) with washer
(32) and self-locking nut (31). Torque self-locking nut (31) to 35 lb-ft (47 N-m).
(5) Install three new O-rings (20) on housing (5), piston assembly (27), and cylinder cover
(22). Install plunger assembly (30) in housing (5).
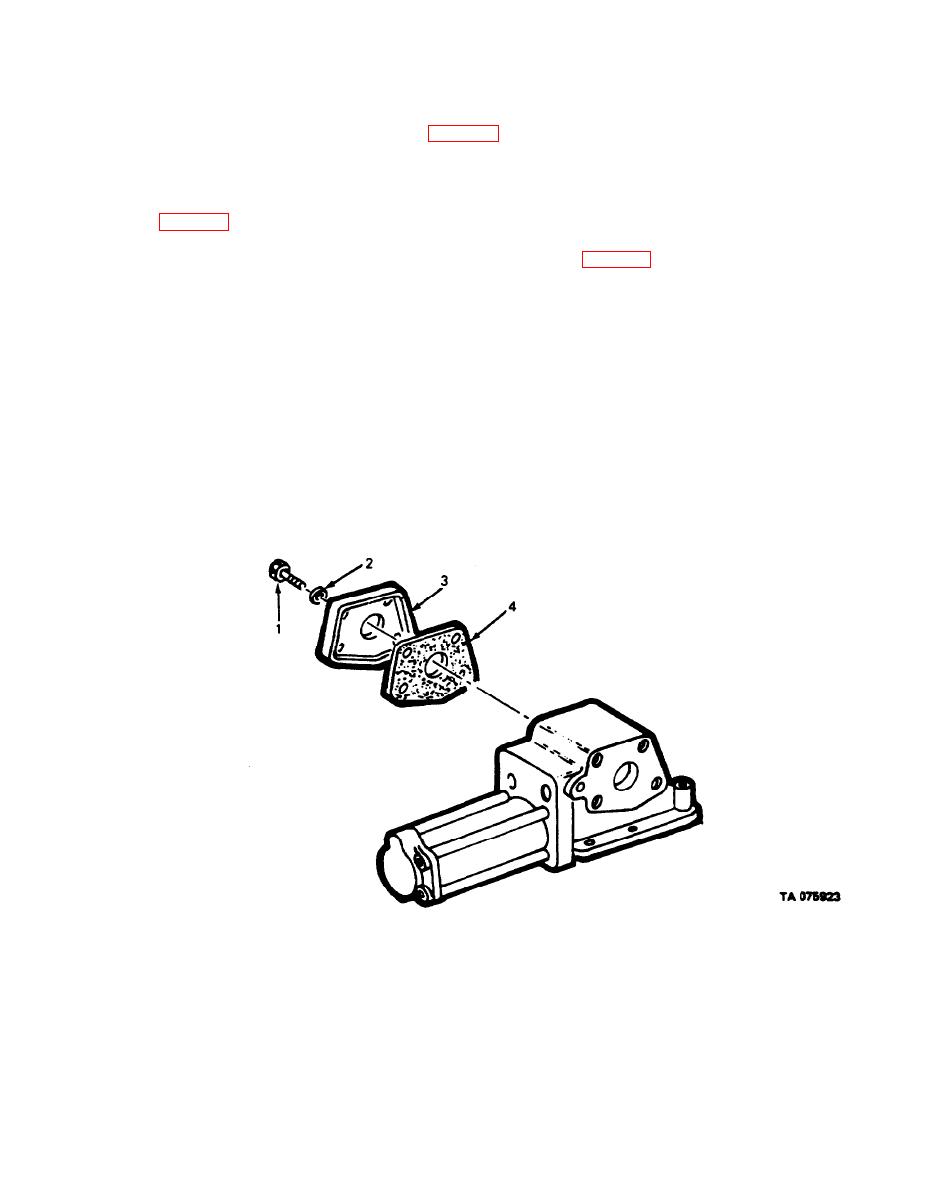
Figure 3-52. Housing Cover.
3-44


