
Engine Systems
clean tray is held up to the light, an even pattern of light should be visible. It
may be necessary, only as a last resort, to burn off the lint. Extreme care
must be taken to prevent melting the galvanized coating in the tray screens.
Some trays have equally spaced holes in the retaining baffle. Check to make
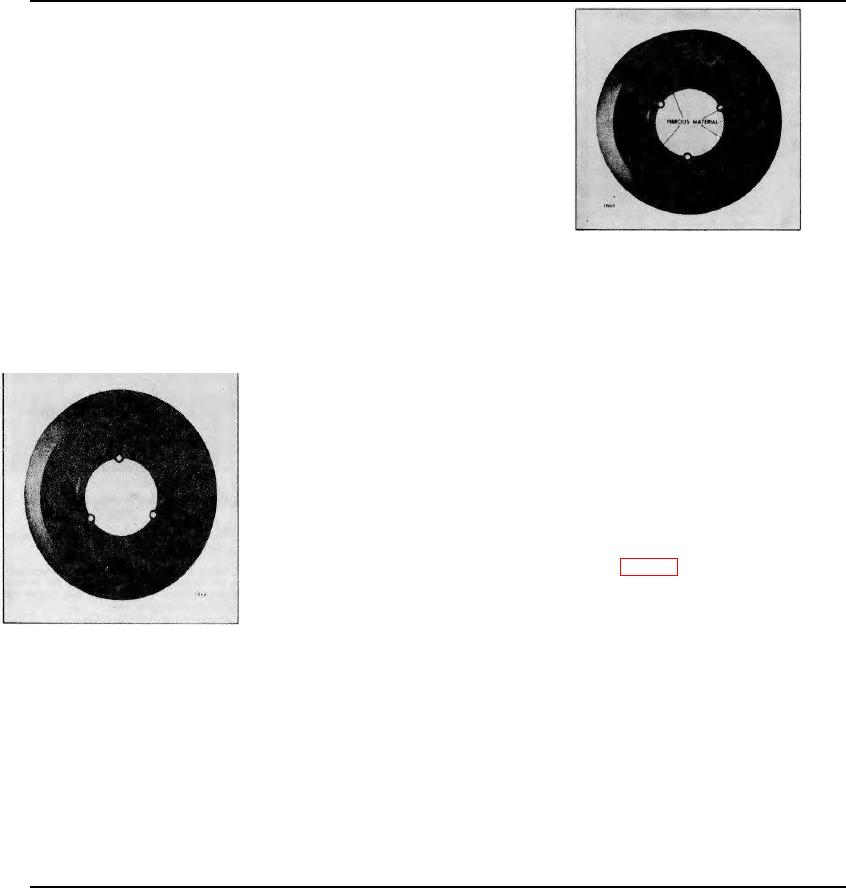
sure that they are clean and open. Figure 11 illustrates a thoroughly cleaned
tray. The dark spots in the mesh indicate the close overlapping of the mesh
and emphasize the need for using compressed air or steam. It is suggested
that users of heavy-duty air cleaners have a spare tray on hand to replace the
tray that requires cleaning. Having an extra tray available makes for better
service and the dirty tray can be cleaned thoroughly as recommended. Spare
trays are well worth their investment.
3. Pour out the oil, separate the inner cup or baffle from the oil or outer cup,
remove the sludge and wipe the baffle and outer cup clean.
4. Clean and inspect the gaskets and sealing surfaces to ensure an air tight
Fig; 11 - Air Cleaner Tray (Clean)
seal.
5. Reinstall the baffle in the oil cup and refill to the proper oil level with the
same grade of oil being used in the engine.
6. Remove the hood and clean by brushing, or by blowing out with compressed air. Push a lint-free cloth through the
center tube to remove dirt or oil from the walls.
7. Inspect the lower portion of the air cleaner body and center tube each time the oil cup is serviced. If there are any
indications of plugging, the body assembly should be removed from the engine and
cleaned by soaking and then flushing with clean fuel oil. Allow the unit to drain
thoroughly.
8. Place the removable element in the body assembly. Install the body if it was
removed from the engine for servicing.
9. Install the outer cup and baffle assembly. Be sure the cup is tightly secured to the
body assembly.
All oil bath air cleaners should be serviced as operating conditions warrant. At no time
should more than 1/2" of "sludge" be allowed to form in the oil cup or the area used for
sludge deposit, nor should the oil cup be filled above the oil level mark.
The United Specialties dry-type air cleaner shown in Fig. 12 consists of a body, dust
unloader and element clamped to a base.
Air is drawn through the cleaner intake pipe and is automatically set into a circular
motion. This positive spinning of the dirty air "throws out" the heavier particles of dust
and dirt where they are collected in the dust port and then expelled through the dust unloader.
Fig. 10 - Air Cleaner Tray
The circular action continues even during low air intake at engine idle speeds.
(Plugged)
The United Specialties dry-type air cleaner should be serviced, as operating conditions
warrant, as follows:
Page 19