
(e) For manual adjustment of mat thickness control, turn each handwheel until no load is felt on the
screw. Turn the handwheels clockwise until a load is felt, then turn them an additional 1/3 revolution in the
same direction to set a slight screed angle for start-up.
(f) Make a visual check of engine speed by reading the Frequency Meter. If the engine speed is
holding at 2000 RPM the frequency will be steady at 61 cycles (Adjust engine speed governor if necessary to
obtain this reading).
(g) Set throttle switch at IDLE and engage the main clutch.
(h) With engine at IDLE speed, start screed heater. Heater should run from 20 to 30 minutes in order
to bring the temperature of the screed bottom to approximately 3000 F. CAUTION! Do not heat the screed
above 3500 F as warping can result.
(i) When screed temperature is satisfactory move solenoid valve selector switch to OFF position. This
will allow burner fan to dissipate the heat. Also open upper vent door.
(j) When intense heat is eliminated stop fan motor by turning junction box burner switch to OFF.
(k) Disengage main clutch.
(l) Shift transmission Direction Lever to FORWARD.
(m) Shift transmission Range Lever and Speed Lever to produce the paving speed selected. This
selection should be based primarily on the rate at which hot material can be delivered to the paving site. A
chart showing paving speeds for 1" mat thickness, as related to tonnage of material required, is shown near the
end of this Section. (New operators should use slow speed for gaining first experience).
(n) Set both Track Switches to BRAKE position.
When the first truck arrives with material, the paving operation can be started as follows:
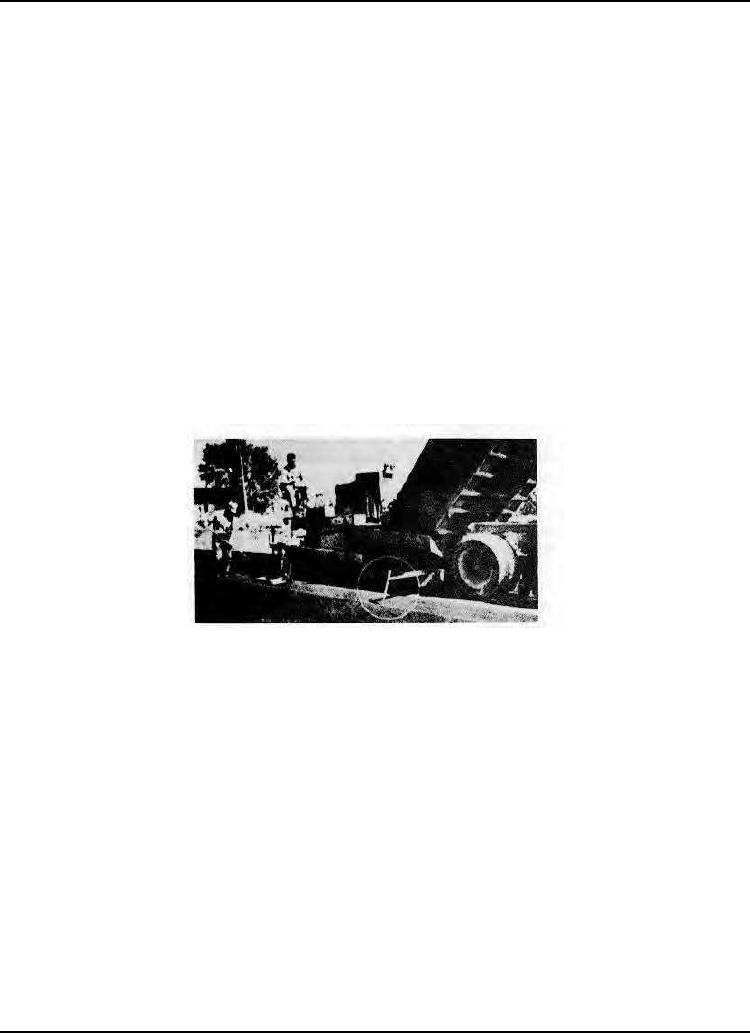
(o) Have truck back-up to within 1" (approx.) of the paver push rollers.
IMPORTANT! The trucks should never be allowed to bump the paver, as this will cause marks on the
finished mat as paving progresses.
Using Guide Marker, Reference Line and Cut-off Shoe
Figure 2
Have the trucker set his brake so that the truck will not roll away from the paver when the material is
dumped. IMPORTANT! Do not allow material to be spilled in front of the paver. If this occurs, shovel the
spillage into the hopper. Do not attempt to bulldoze it with the front of the paver! Material will jam up the
return side of the slat conveyors and pack into the track links. If material is left in front of the tracks it may
cause waves in the mat.
(p) Dump material Into Paver Hopper.
(q) When ready to pave, engage master clutch.
(r) Set engine Throttle Switch to FULL position.
(s) Move both Feed Switches to the MANUAL position. When the slat conveyors have fed the material
to the spreader screws and it is spread across the full length of the screed to the proper depth, move the Feed
Switches to OFF.
(t) Set Vibrator Switch to ON. (Vibrators will not start until paver moves forward. Adjust the four
Vibrator Intensity Control Knobs on the transformers to about 3/4 range to start. When some mat is laid re-
adjust the vibrator intensity for the best mat surface appearance. Once properly set, little or no additional
adjustment will be necessary).
(u) Set engine throttle switch to SOFT START position.
(v) Set both Track Switches to TRAVEL simultaneously to start paver movement and operate the Feed
Switches manually to keep the material spread ahead of the screed.
Page 80